Using Budget Input Forms
The task list contains the two budget input forms that can be edited. These include “2.0 Build Beginning Budget Form” and “3.0 Budget Seasonality Quarterly Form”. Instead of the quarterly form, you can choose to input into the monthly form “4.0 Budget Seasonality Monthly Form”.
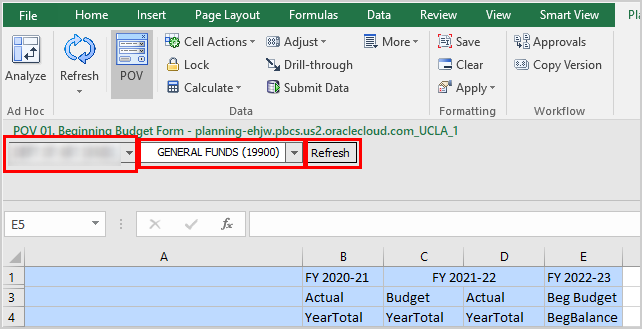
Selecting Department & Fund
There are two drop-down menus on the input forms you have opened in Excel. The left drop-down menu allows you to select your department, and the right drop-down menu allows you to select your fund. After changing your selection, you must click the Refresh button to reflect the changes.
- Select your department or fund from the drop-down menu or type to search for your department or fund name
- Click Refresh
Budget Forms Layout
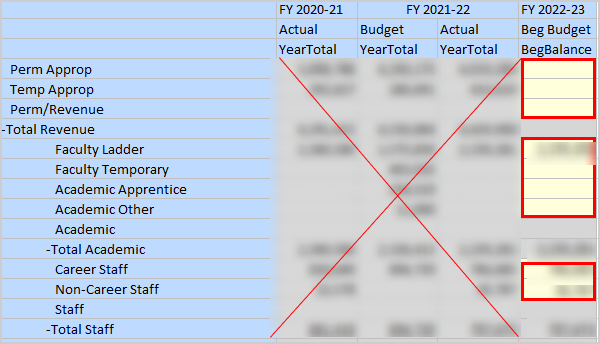
The color of the cell shading indicates the update status. You can change the background colors of editable and non-editable cells if you want.
Cell Colors:
- Light Yellow
- Edits are allowed
- Dark Yellow
- Edits have been made but not submitted (saved in C-BIG)
- Gray
- Read-only and cannot be edited
Saving data in Excel and submitting data to C-BIG
When connected to C-BIG, data from excel will need to be uploaded back to C-BIG in order to save your changes. Refreshing will download any data in C-BIG and overwrite the data you have in Excel.
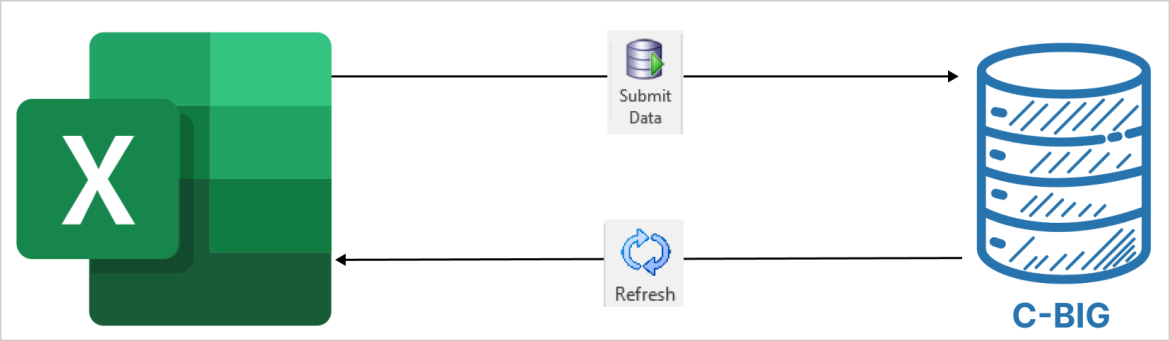
To submit/save your changes, click on Submit Data in the Planning ribbon.

To refresh data from C-BIG, click on Refresh from the Planning ribbon. If you refresh without submitting your data first, you will delete all changes in the budget input form.

Saving your Excel workbook does not automatically upload or submit your data back to C-BIG.
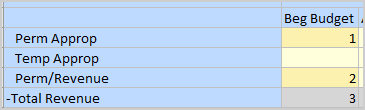
Filling out Budget Input Forms
The cells with a grey background color represent read-only cells, while those with a light yellow background color represent input cells. After inputting data, the cell color will change to dark yellow, indicating that data has been changed but not yet submitted/saved to the database.
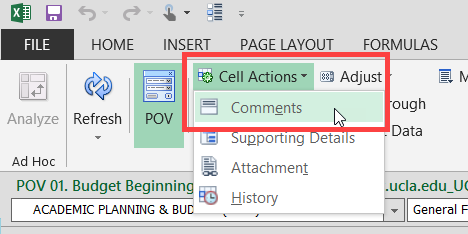
Excel Cell Actions
Comments
You can add comments to a single cell or range of cells to describe or explain items inputted in the budget form. This can help explain or share rationale and thoughts behind your plan.
- Select a single cell or range of continuous cells
- Click on Cell Actions, then Comments.
-
- Once the comments window appears, click on the add comment button.
- Enter comments (up to 2000 characters per a cell), then click on the save button.
- If you selected multiple cells to add comments, be sure to check the box "Apply to all selected cells"
- Remember to save before closing the comments box to save your changes. Close the Comments box if you are done adding comments.
-
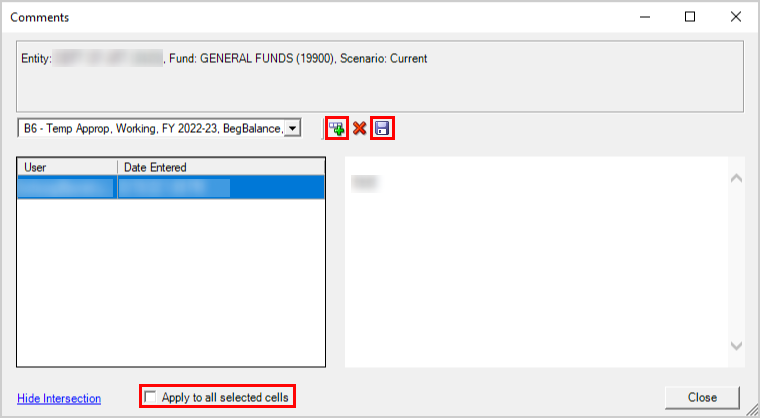
- The cell will have a thin blue border, indicating that cell comments are present.
Supporting Details
Supporting Details allows you to add detail items that can aggregate to the single value within a cell.
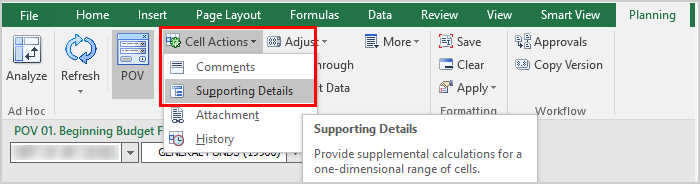
- Select a single cell or range of continuous cells.
- Click on Cell Actions, then Supporting Details.
-
- Select the Add Child button.
- Type a description and enter an amount.
- To add line items, select the Add Sibling button.
- To add items under an existing item, click on the item, then click the Add Child button.
-
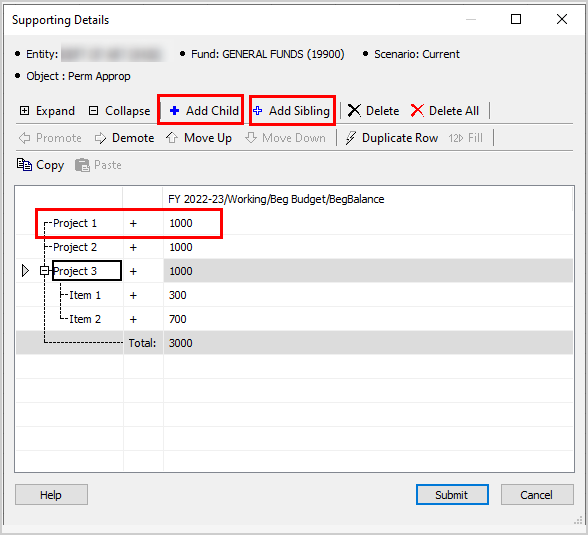
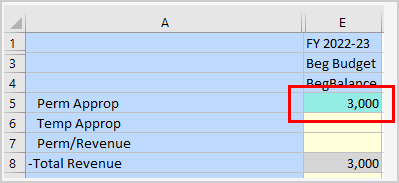
- Click on the Submit button when done.
- The total amount will display on your form, and the cell background color will appear in aqua blue, indicating that there are Supporting Details.
-
- To delete Supporting Details, simply go to Cell Actions > Supporting Details > Delete or Delete All.
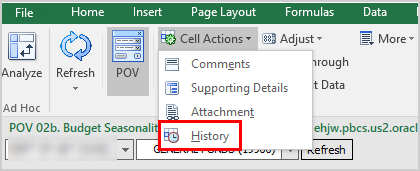
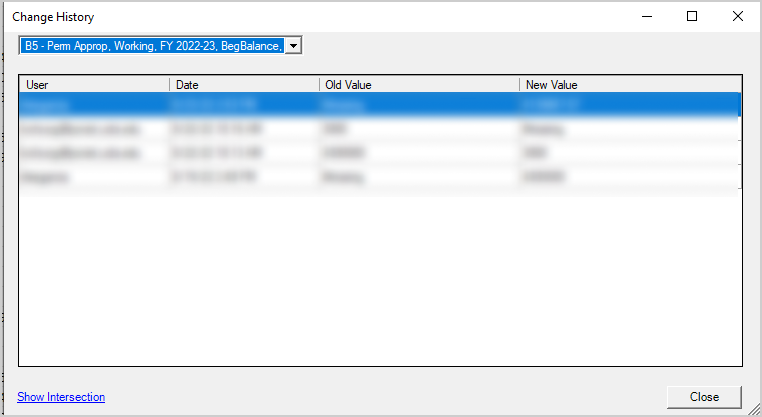
History
The history feature shows the history of data in a specific cell. You can see the prior value, who changed it and when. To see history for a cell:
1. Select the cell
2. From the Planning ribbon, open the drop-down menu on the Cell Actions button
3. Select History